
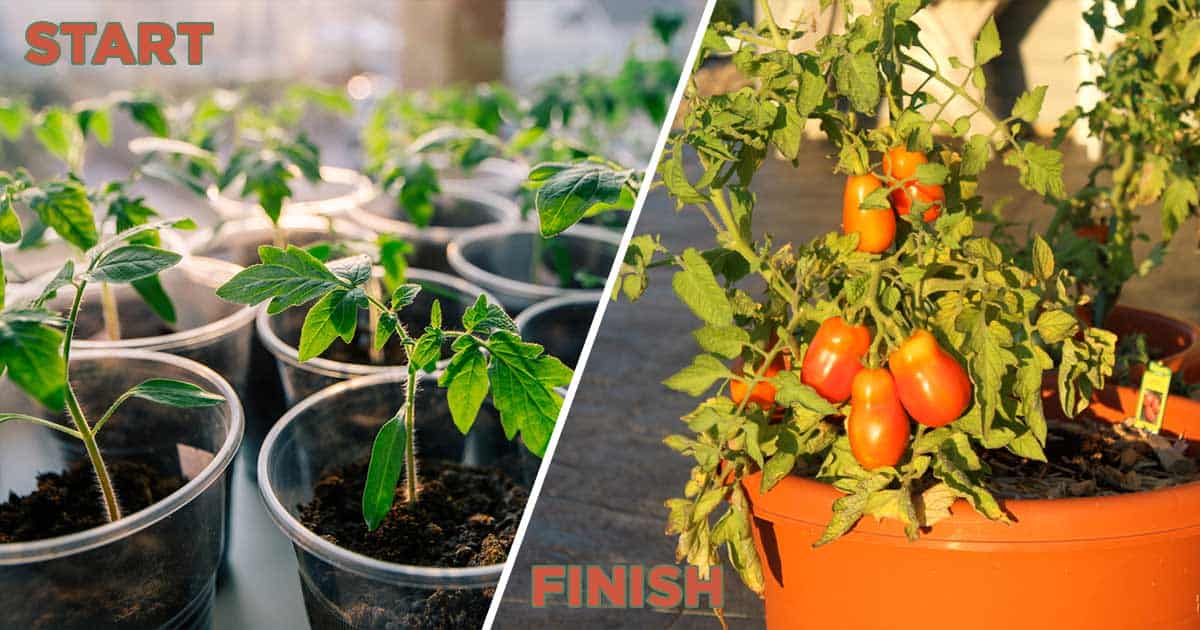
Roma tomatoes, with their characteristic oblong shape and meaty texture, are a cornerstone of Italian cuisine, and for good reason. Imagine sun-dried tomatoes bursting with flavor, homemade pasta sauce simmering on the stove, or a fresh Caprese salad with perfectly sliced Romas. The beauty of these tomatoes is that they’re relatively easy to grow, even in smaller gardens or containers. This Step-by-Step Guide to Growing Roma Tomatoes will give you the knowledge you need to enjoy a bountiful harvest of these versatile fruits.
Why should you dedicate space in your garden (or patio) to Roma tomatoes? Beyond their exceptional taste, Romas are incredibly productive, yielding a large harvest from a relatively small footprint. They’re also known for their resistance to certain diseases that plague other tomato varieties, which can save you a lot of headaches. Plus, with the right setup, you can even enjoy Roma tomatoes indoors, bringing a touch of summer to your kitchen year-round. They offer better flavor, texture, and fewer preservatives than store-bought canned tomatoes, allowing you to control your diet.
Here's a quick tip to get you started: Start your Roma tomato seeds indoors 6-8 weeks before the last expected frost to give them a head start and ensure a longer growing season.
Getting Started: Planning Your Roma Tomato Garden
The success of your Roma tomato crop hinges on proper planning. This includes choosing the right location, understanding your climate, and selecting the appropriate growing method. Let's break down the essentials.
Choosing the Right Spot and Climate
Roma tomatoes are sun-worshippers, demanding at least 6-8 hours of direct sunlight daily. Insufficient sunlight can lead to leggy plants, reduced fruit production, and increased susceptibility to diseases. Choose a location in your garden that receives ample sunlight throughout the day.
Temperature is also crucial. Roma tomatoes thrive in daytime temperatures between 70°F and 85°F (21°C and 29°C). They are sensitive to frost, so it's essential to protect them from freezing temperatures, especially during the early stages of growth. Knowing your region's last expected frost date is key for planning your planting schedule. In regions with shorter growing seasons, starting seeds indoors is highly recommended. Gardeners in hotter climates like Florida should look for heat-tolerant Roma varieties and provide afternoon shade if needed.
Containers, Raised Beds, or the Ground?
The beauty of Roma tomatoes is their adaptability. They can be successfully grown in containers, raised beds, or directly in the ground, depending on your space and preferences.
Containers: Ideal for small spaces like balconies or patios. Choose a container that's at least 5 gallons in size to provide sufficient room for the roots to grow. Ensure the container has drainage holes to prevent waterlogging. Fabric pots are an excellent choice as they promote air pruning of the roots. Raised Beds: Offer improved drainage and soil control compared to in-ground planting. They also warm up faster in the spring, extending the growing season. Ground:Provides the most space for root development. Ensure the soil is well-draining and amended with organic matter.
Soil and Nutrition: Feeding Your Romas
Roma tomatoes need well-draining soil that's rich in organic matter. The ideal soil p H range is between 6.0 and
6.8. Before planting, amend your soil with compost, aged manure, or other organic materials to improve its structure and fertility.
You can use a slow-release fertilizer at planting time to provide a steady supply of nutrients. Alternatively, you can use a liquid fertilizer every 2-3 weeks throughout the growing season. A balanced fertilizer with an N-P-K ratio of 5-10-5 is a good starting point. Avoid over-fertilizing, as this can lead to excessive foliage growth at the expense of fruit production.
The Growing Process: From Seed to Harvest
Now that you've laid the groundwork, let's dive into the step-by-step process of growing your own Roma tomatoes.
Starting Seeds or Buying Transplants
You have two options for starting your Roma tomato plants: starting seeds indoors or purchasing transplants from a nursery.
Starting Seeds: Sow seeds indoors 6-8 weeks before the last expected frost. Use a seed-starting mix and keep the soil moist but not waterlogged. Provide supplemental light with grow lights if natural light is insufficient. Once the seedlings have developed a few sets of true leaves, transplant them into larger pots. Buying Transplants: Choose healthy-looking plants with sturdy stems and no signs of disease or pests. Gently remove the plant from its container and loosen the roots before planting.
Planting Depth, Spacing, and Support
When planting your Roma tomatoes, bury the stem deeper than it was in the original container, all the way up to the first set of leaves. This encourages the development of roots along the buried stem, resulting in a stronger and more productive plant.
Space plants 2-3 feet apart in rows that are 3-4 feet apart. Roma tomatoes are determinate varieties, meaning they grow to a certain size and then stop, producing all their fruit within a relatively short period.
Roma tomatoes benefit from staking or trellising to keep the fruit off the ground and prevent disease. Insert stakes near the plants soon after transplanting to avoid disturbing the roots later. Use soft ties to secure the stems to the stakes.
Watering and Mulching for Healthy Growth
Water your Roma tomatoes deeply and regularly, especially during hot and dry weather. Aim to water at the base of the plant to avoid wetting the foliage, which can promote fungal diseases. A good rule of thumb is to provide about 1-2 inches of water per week.
Mulching around your tomato plants with straw, wood chips, or compost helps to retain moisture, suppress weeds, and regulate soil temperature. Mulch can also help prevent blossom end rot by maintaining consistent soil moisture.
Pruning Suckers for Increased Yield
Pruning suckers, which are the small shoots that grow between the main stem and the branches, can improve air circulation and direct the plant's energy towards fruit production. Remove suckers early in the morning when the plant is dry. Pruning can also help you control the size and shape of your tomato plants.
Light for Indoor Roma Tomatoes
If you're growing Roma tomatoes indoors, you'll need to provide supplemental light. A simple fluorescent grow light or an LED grow light can provide the necessary light spectrum for healthy growth. Position the light a few inches above the plants and adjust as they grow. Aim for 14-16 hours of light per day.
Troubleshooting and Harvesting
Even with the best planning, challenges can arise. Being prepared to address common issues and knowing when to harvest is crucial for a successful Roma tomato harvest.
Common Problems and How to Fix Them
Slow Growth: Can be caused by insufficient sunlight, poor soil, or nutrient deficiencies. Ensure your plants are getting enough sunlight and amend the soil with compost or fertilizer. Yellowing Leaves: May indicate a lack of nitrogen or magnesium. Apply a fertilizer that's rich in these nutrients. Leggy Seedlings: Usually caused by insufficient light. Provide supplemental light with grow lights. Blossom End Rot: Caused by calcium deficiency, often due to inconsistent watering. Maintain consistent soil moisture and consider adding calcium to the soil. Pests and Diseases:Monitor your plants regularly for signs of pests and diseases. Use organic pest control methods, such as insecticidal soap or neem oil, to manage pests. Apply fungicides to prevent or control fungal diseases.
Companion Planting for Roma Tomatoes
Companion planting can help attract beneficial insects, repel pests, and improve the overall health of your tomato plants. Basil and marigolds are excellent companion plants for tomatoes. Avoid planting tomatoes near members of the brassica family (cabbage, broccoli, cauliflower), as they can compete for nutrients. Also, be mindful of crop rotation from year to year, avoiding planting tomatoes in the same location to help prevent soilborne diseases.
Harvesting Your Roma Tomatoes
Roma tomatoes are typically ready to harvest 75-80 days after transplanting. The tomatoes should be firm, have a deep red color, and easily detach from the vine. Gently twist or clip the tomatoes from the plant.
The peak season for Roma tomatoes is generally mid-summer to early fall, depending on your climate. Enjoy your harvest fresh, or use them to make sauces, pastes, and other delicious tomato-based products. Remember that the flavor of your Roma tomatoes will be best when allowed to ripen fully on the vine.
Frequently Asked Questions About Growing Roma Tomatoes
How often should I water my Roma tomato plants?
Water deeply when the top inch of soil feels dry. This usually translates to every 2-3 days, but monitor your plants closely, especially during hot weather.
Do Roma tomatoes need to be pruned?
Yes, pruning suckers is recommended to improve air circulation and direct the plant's energy towards fruit production.
What's the best fertilizer for Roma tomatoes?
A balanced fertilizer with an N-P-K ratio of 5-10-5 is a good starting point. You can use a slow-release fertilizer at planting time or a liquid fertilizer every 2-3 weeks.
How can I prevent blossom end rot on my Roma tomatoes?
Maintain consistent soil moisture and consider adding calcium to the soil. Mulching around your plants can help retain moisture.
Can I grow Roma tomatoes in containers?
Yes, choose a container that's at least 5 gallons in size and ensure it has drainage holes. Fabric pots are an excellent choice.
What are some good companion plants for Roma tomatoes?
Basil and marigolds are excellent companion plants for tomatoes, helping to attract beneficial insects and repel pests.
Now that you've absorbed this Step-by-Step Guide to Growing Roma Tomatoes, take the first step today: locate a sunny spot in your garden or find a spacious container for your seedlings. With a little planning and care, you'll be enjoying the delicious taste of homegrown Roma tomatoes in no time!

Post a Comment