
Imagine biting into a sun-ripened tomato, the juice bursting with intense flavor, and thinking, "I want more ofthis." What if you could take that very slice and turn it into a thriving tomato plant? It sounds like magic, but learning how to grow a tomato from a fresh tomato slice is actually a fun and relatively simple way to expand your garden – or even just experience the wonder of propagation firsthand. While it might not be themostefficient method for large-scale tomato production, it's an incredible learning experience and a conversation starter!
There are so many compelling reasons to explore this unusual method of tomato propagation. Perhaps you've discovered an heirloom variety with unparalleled taste at your local farmer's market, but can't find seeds anywhere. Or maybe you're simply looking for a budget-friendly and fascinating science project to do with kids. Plus, understanding the basics of seed germination and plant growth through this hands-on method can make you a more confident and successful gardener overall. While cloning (taking cuttings) is a more common method, growing tomatoes from slices offers a unique perspective on the tomato's life cycle.
Here's a tip you can trytoday*: Scoop out a small amount of the gel-like substance surrounding the seeds in your favorite tomato. Place this gel in a small jar with a bit of water, and let it ferment for a few days. This mimics the natural breakdown process that happens in the soil and can improve germination rates when you eventually sow your seeds.
How to Grow a Tomato from a Fresh Tomato Slice: A Step-by-Step Guide
While growing a full, thriving tomato plant directly from a slice is challenging, extracting the seeds and starting them is a very viable approach. This process is more about seed saving and starting than direct slice-to-plant propagation. Here’s how to do it:
1. Choosing the Right Tomato: Select a ripe, healthy tomato from a variety you love. Heirloom tomatoes are excellent choices, as they often have unique flavor profiles. Make sure the tomato is free from any signs of disease or rot. Organically grown tomatoes are ideal, as you'll avoid any potential issues with treated produce.
2. Slicing and Seed Extraction: Carefully slice the tomato horizontally, about ½ inch thick. Gently squeeze the seeds and pulp from the slice into a small container. Add a little water to the container to help separate the seeds from the pulp.
3. Fermentation (Optional but Recommended): Allow the seed-pulp mixture to ferment for 3-4 days at room temperature. This process helps to remove a germination-inhibiting gel that surrounds the seeds. You'll notice a layer of mold forming on top – don't worry, this is normal. Just stir the mixture daily.
4. Cleaning and Drying the Seeds: After fermentation, rinse the seeds thoroughly with water. Discard any pulp or debris. Spread the clean seeds on a paper towel or coffee filter to dry completely. This may take several days. Ensure the seeds are completely dry before storing them.
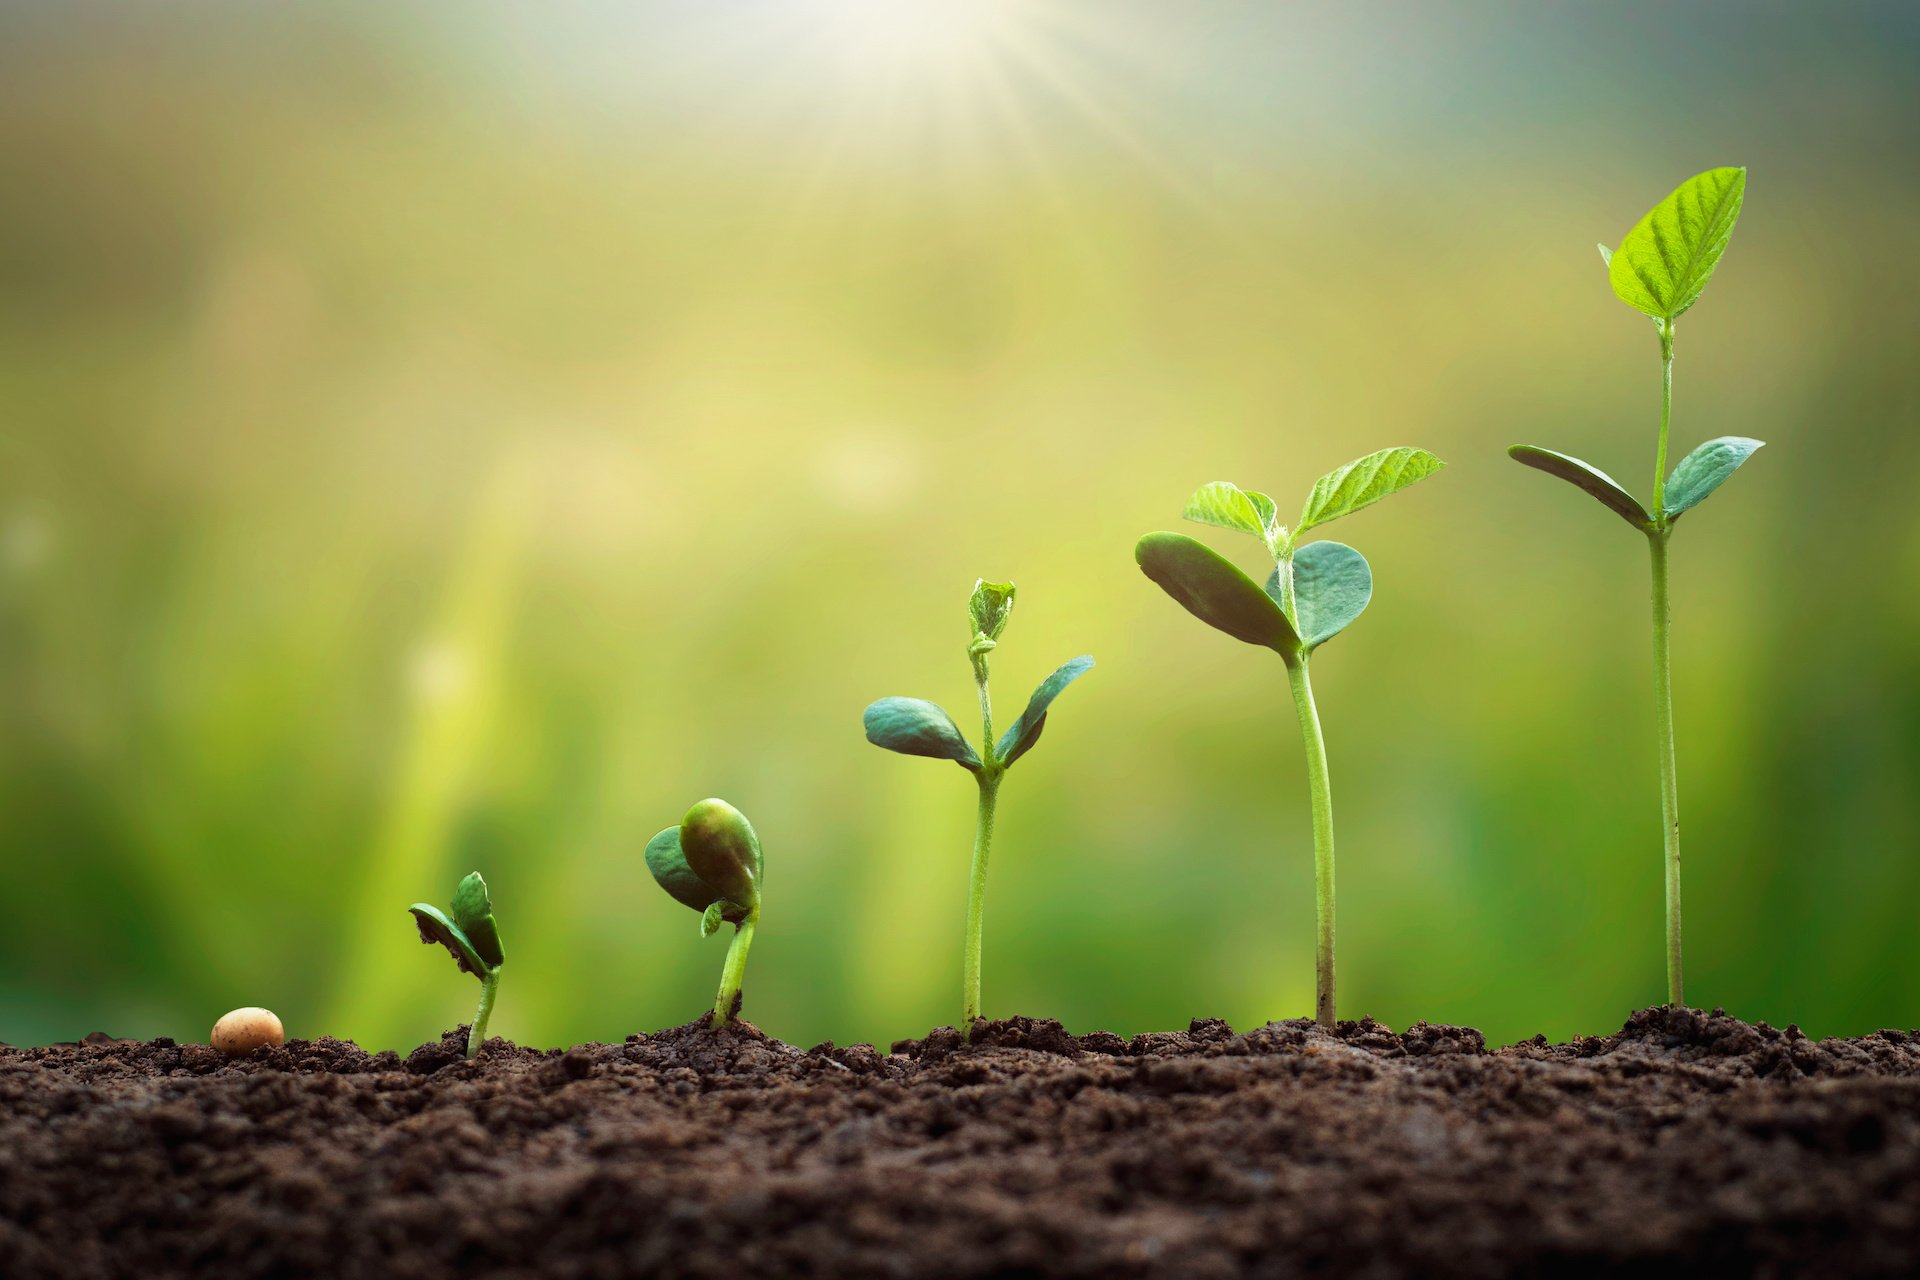
5. Sowing the Seeds: Once the seeds are dry, you can sow them indoors 6-8 weeks before the last expected frost. Use a seed-starting mix and sow the seeds about ¼ inch deep. Keep the soil consistently moist but not waterlogged. Provide warmth (70-75°F) for optimal germination.
6. Transplanting Seedlings: Once the seedlings have developed a few sets of true leaves, you can transplant them into individual pots. Harden off the seedlings by gradually exposing them to outdoor conditions before transplanting them into their final location in the garden or a container.
Considerations for Direct Slice Planting
While the method described above focuses on seed extraction for higher success rates, some gardeners attempt to plant the slice directly. Here’s why it’s difficult and what to consider: Rotting Issues:A thick tomato slice is likely to rot before the seeds have a chance to germinate and establish. The moisture and sugar content create an ideal environment for mold and bacteria.
Nutrient Depletion: The slice itself doesn't provide the long-term nutrients needed for a developing seedling.
Seedling Competition: Even if multiple seeds germinate, they will compete for limited resources within the confines of the decaying slice.
If youdowant to experiment, use a very thin slice and place it on top of well-draining seed-starting mix. Keep a close eye on it, and be prepared to gently transplant any successful seedlings into their own pots as soon as possible.
Optimizing Your Tomato Growing Environment
Regardless of whether you start from seeds extracted from a slice or traditionally purchased seeds, providing the right growing conditions is crucial for success.
Sunlight: Tomatoes need at least 6-8 hours of direct sunlight per day. Choose a sunny location in your garden or, if growing indoors, supplement with grow lights.
Soil: Tomatoes thrive in well-draining soil that is rich in organic matter. Amend your garden soil with compost or aged manure. A soil p H between 6.0 and
6.8 is ideal.
Watering: Water deeply and regularly, especially during hot weather. Avoid overhead watering, which can promote fungal diseases. Mulching around the plants can help retain moisture and suppress weeds. Be consistent to prevent blossom end rot.
Fertilizing: Feed your tomato plants regularly with a balanced fertilizer, especially during fruit production. Look for a fertilizer with a higher phosphorus content (the middle number) to encourage flowering and fruiting. Slow-release granular fertilizers can be incorporated into the soil at planting time, or you can use liquid fertilizers every few weeks.
Support: Tomato plants, especially indeterminate varieties, need support to keep their fruit off the ground and prevent breakage. Use stakes, cages, or trellises to provide support.
Choosing the Right Container for Tomato Growing
For container tomatoes, a 5-gallon bucket is a good starting point. Larger containers, like half whiskey barrels, will provide even more room for root growth and can result in larger, more productive plants. Make sure your container has drainage holes to prevent waterlogging. A good-quality potting mix is essential for container tomatoes, as garden soil can become compacted in containers.
Understanding Determinate vs. Indeterminate Tomatoes
Determinate tomatoes grow to a certain size and then stop, producing all their fruit at once. They are generally bushier and more compact, making them a good choice for containers or smaller gardens. Indeterminate tomatoes continue to grow and produce fruit throughout the growing season. They require more support and pruning. Knowing which type you have is essential for proper care. Pruning suckers (the shoots that grow between the main stem and branches) is typically recommended for indeterminate varieties to improve airflow and fruit production.
Companion Planting and Pest Control
Companion planting can help deter pests and diseases, attract beneficial insects, and improve the overall health of your tomato plants.
Good Companions: Basil, marigolds, and nasturtiums are excellent companions for tomatoes. Basil repels tomato hornworms and whiteflies, while marigolds deter nematodes.
What to Avoid: Avoid planting tomatoes near brassicas (like cabbage and broccoli) or fennel, as they can inhibit tomato growth.
Pest Control: Regularly inspect your tomato plants for pests like aphids, spider mites, and tomato hornworms. Handpicking pests is often effective for small infestations. For larger infestations, consider using insecticidal soap or neem oil. Crop rotation each year helps reduce soilborne diseases and pest populations.
Harvesting Your Tomatoes
Harvest tomatoes when they are fully colored and slightly soft to the touch. The exact color and feel will vary depending on the variety. Gently twist or cut the tomato from the vine. The peak flavor of a homegrown tomato is truly something special!
Regional and Seasonal Considerations
The best time to start tomato seeds depends on your local climate and the length of your growing season. In colder climates, you'll need to start seeds indoors earlier. In warmer climates, you can start seeds later or even direct sow them into the garden after the last frost. Gardeners in Florida, for example, often have two tomato growing seasons: one in the spring and one in the fall. Greenhouses can extend the growing season in colder climates, allowing you to start seeds earlier and harvest tomatoes later.
Troubleshooting Common Tomato Problems
Slow Growth: Ensure your tomato plants are getting enough sunlight, water, and nutrients. Soil testing can help determine if there are any nutrient deficiencies.
Yellowing Leaves: Yellowing leaves can be caused by a variety of factors, including nutrient deficiencies, overwatering, underwatering, or disease. Check the soil moisture and nutrient levels, and look for any signs of pests or disease.
Leggy Seedlings: Leggy seedlings are often caused by insufficient light. Provide your seedlings with more light or move them closer to a window or grow light.
Blossom End Rot: Blossom end rot is caused by a calcium deficiency and inconsistent watering. Ensure your soil has adequate calcium and water deeply and regularly.
FAQ: Growing Tomatoes from Slices
Can I really grow a tomato plant directly from a slice?
It's difficult but possible. The primary challenge is preventing the slice from rotting before the seeds can germinate. Extracting and planting the seeds is generally more successful.
What kind of tomato should I use for seed starting?
Choose a ripe, healthy tomato from a variety you love, ideally an heirloom variety. Organically grown tomatoes are best to avoid any potential chemical treatments.
How long does it take for tomato seeds to germinate?
Tomato seeds typically germinate in 5-10 days, provided they have warmth (70-75°F) and consistent moisture.
What's the best way to water tomato seedlings?
Water gently from below to avoid disturbing the seedlings. You can use a spray bottle or a watering can with a fine rose attachment.
Why are my tomato seedlings leggy?
Leggy seedlings are usually caused by insufficient light. Provide them with more light by moving them closer to a window or using grow lights.
When should I transplant my tomato seedlings outdoors?
Transplant your tomato seedlings outdoors after the last expected frost, when the soil has warmed up. Harden off the seedlings gradually before transplanting them to acclimate them to outdoor conditions.
Starting from a simple slice of tomato, you’ve unlocked a new understanding of plant propagation and the incredible potential hidden within a single fruit. Whether you succeed in growing a thriving plant directly from a slice, or you master the art of seed extraction, the journey will be filled with valuable lessons and the satisfaction of nurturing life from the simplest of beginnings. Now, go find that perfect tomato and start experimenting!

Post a Comment